
Overview
Start shipping faster with LateShipment.com. This guide covers how to connect your store, add your warehouse, set up notifications, and begin creating shipping labels in just a few steps.
1. Connect Your Store to LateShipment.com
Log in to your LateShipment.com dashboard.
Navigate to OneShip → Get Started.
Select your store platform (Shopify).
Paste your Admin API Access Token in the field provided.
Click Submit to connect the store.
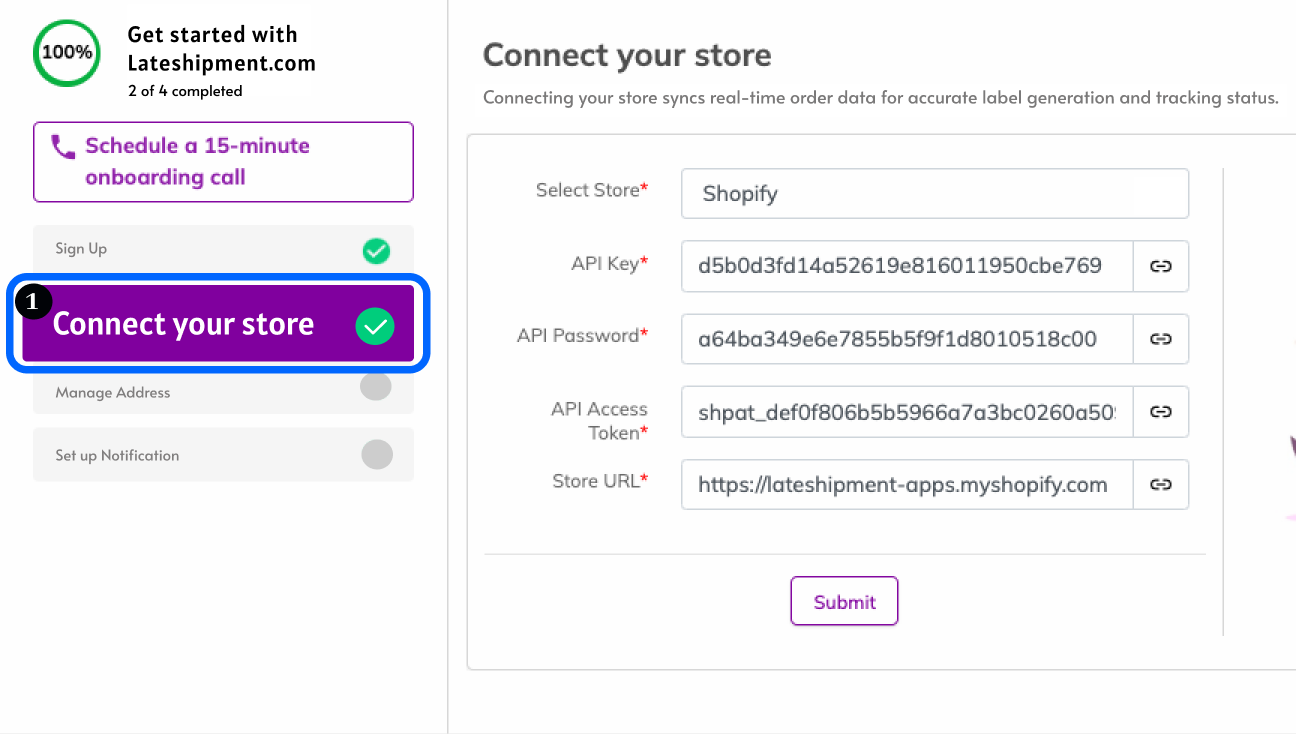
Once connected, your store will be integrated and order details will be synced for label generation.
2. Add Warehouse Addresses
The warehouse address will be displayed as the origin (“From”) address while generating the label.
Navigate to OneShip→ Get Started → Manage Address → Add Address.
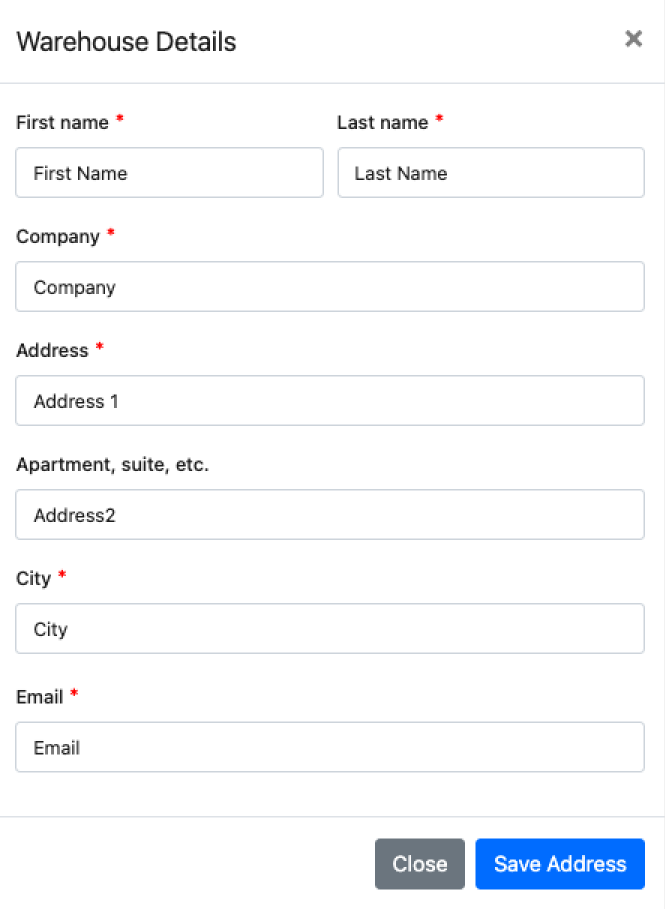
Enter the warehouse name, address, and contact details and Save.
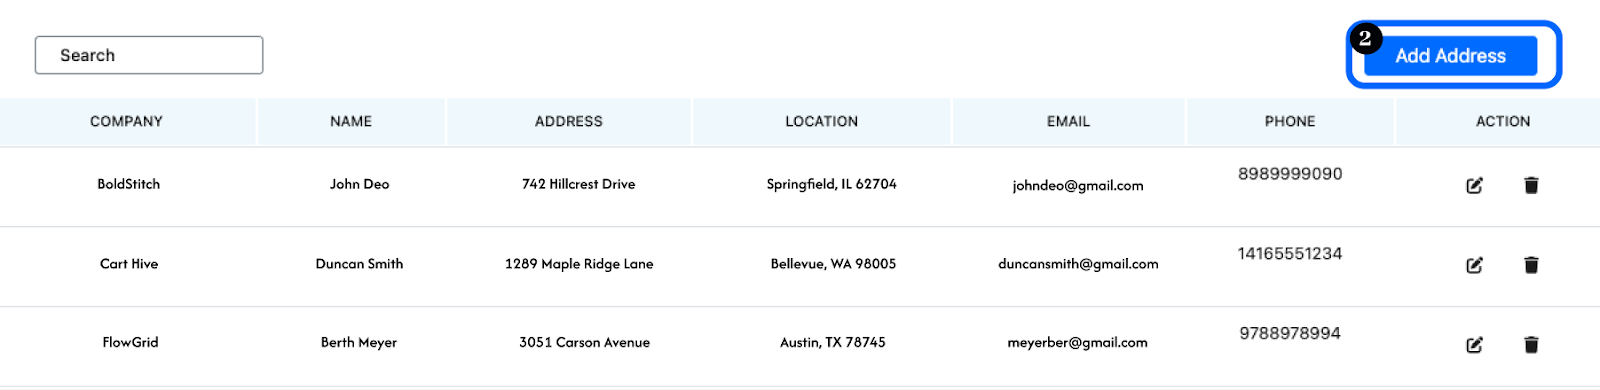
All saved addresses will appear in a list for selection during label generation.
3. Enable Internal Notifications
Set up notifications to know when shipping labels are created or canceled.
Go to OneShip → Get Started → Notifications.
[screenshot - notification screen]Enable the following alerts:
Label Created – Triggered when a new shipping label is generated.
Label Canceled – Triggered when a label is canceled for a shipment.
Next Steps
After connecting your store, adding warehouses, and setting up notifications, you’re ready to manage orders and create shipping labels:
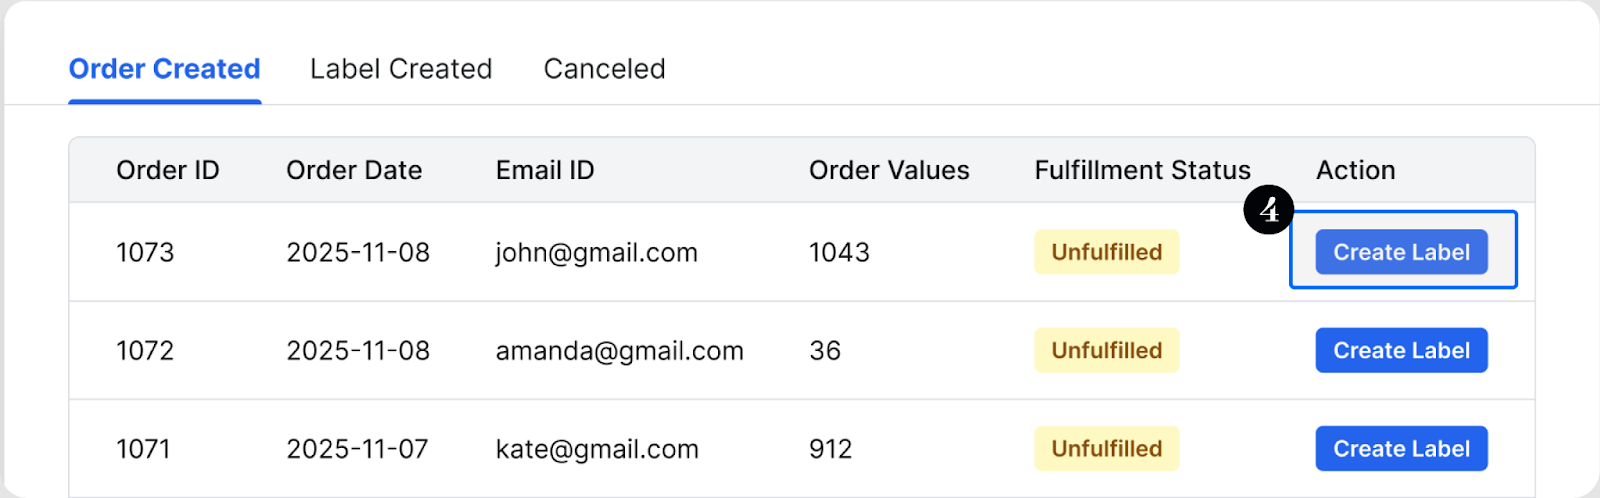
Go to the Manage Labels dashboard.
Select an order to create a label and choose whether to ship the full order or a partial shipment using the same or different boxes based on product weight.
Review order details, including customer information, shipping method, and package dimensions.
Generate and print the shipping label.
Was this article helpful?
That’s Great!
Thank you for your feedback
Sorry! We couldn't be helpful
Thank you for your feedback
Feedback sent
We appreciate your effort and will try to fix the article